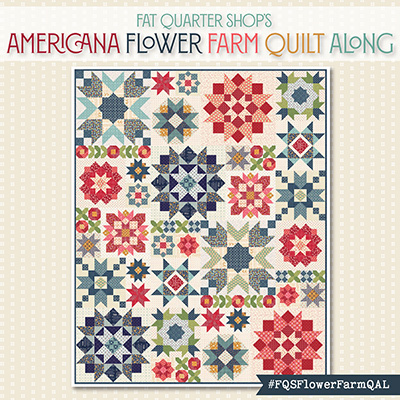
Last Tuesday, I shared my newest pattern, the Sugar Skull quilt block. I tested the pattern using the Good Spirits fabric by Ruby Star Society. It’s their Halloween line, which hit stores a few months ago. If you follow me on Instagram, you’d know that I used this fabric for a quilt-along with the Fat Quarter Shop. A couple of months back, I made a door hanging with this fun fabric line.

Since I didn’t have any plans for the quilt block and still had some leftover fabric, I decided to turn it into something. I settled on a quick messenger bag. If you want to make one of these fun bags, it’s quick and easy. Yes, you can make one too! I started and finished mine in one day. Here’s how:
The Fletcher Bag – A Quick Messenger Bag
| Fabric | Quantity | Cut Size | Where Used | Fabric Description |
|---|---|---|---|---|
| Quilt Block | 1 | 12 1/2” square | Front of bag | Sugar Skull |
| Fabric A | 2 | 3″ x 12 1/2″ 2″ x 12 1/2″ | Front of bag | Grey |
| Fabric B | 1 | 16″ x 12 1/2″ | Back of bag | Dark fabric |
| Fabric C | 2 | 3” strips | Bag strap | Orange |
| Fabric D | 2 1 | 3” strips 31 1/2″ x 12 1/2″ | Bag strap Inside of bag | Cream |
| Stabilizer | 1 1 | 2 1/2″ x 55 1/2″ 31 1/2″ x 12 1/2″ | Bag strap Inside of bag | |
| Batting | 1 | 31″ x 12″ | Inside of bag |

How to make a Quick Messenger Bag
- Step 1 – Sew (1) Piece A to the top of the quilt block and (1) Piece B to the bottom. Sew Piece C to the sides of the working unit. Press the seams towards the darker fabric. Iron the stabilizer onto the wrong side of the working unit, fusing it into place. Spray baste the batting onto the stabilizer to create the outside of the bag.

- Step 2 – Layer Piece D right side up, and the working bag right side down. The batting side will be showing. Sew around all edges of the bag, leaving a 5” gap. Turn the bag inside out. Work the corners so they are full and pointed. Iron the bag into a rectangular shape. Fold the edges of the unsewn gap inward, gently pulling the sides to help turn the edges inside. Pin and sew the gap shut. Quilt the bag.

- Step 3 – Place the two 3” strips of Fabric A on top of each other, right sides together, and cut at a 45-degree angle. Sew the angled edges together, trimming down to 3 x 60 inches. Repeat with the 3” strips of Fabric D.
- Step 4 – Iron the stabilizer onto the back of Fabric A.

- Step 5 – Layer Piece D right side up, and Fabric A right side down for the bag handle. Sew around all edges, leaving a 5” gap. Turn the handle inside out. If you’re having trouble turning it, remove a few inches of the seam in the troublesome area. Work the corners so they are full and pointed. Iron the handle into a rectangular shape. Fold the edges of the unsewn gap inward, gently pulling both sides to help turn the edges inside. Pin and sew the gap shut. Quilt the handle.

- Step 6 – Mark the center of the bag and the center of the two shortest edges of the strap. Pin them together. Start and stop your seam 1/4” from the edge. Sew the other edges on both sides of the strap. Zigzag the seam to reinforce it.

- Step 7 – Zigzag the seam to reinforce it.

I love Halloween and have a bunch of projects so you can get your spooky-making on. Click here to see more Halloween.
Thank you for following along! I hope you love this project and are inspired to try and make a quick messenger bag yourself. It is the perfect candy tote for Halloween and a great way do get rid of some orphan blocks. If you decide to make your own bag, don’t forget to share it with me on Instagram using the hashtag #fletcherbag—I love seeing your creations! Happy sewing, and stay tuned for more quilting adventures and patterns coming your way soon!


